1133 Bryan Rd. O'Fallon, MO 63366

What Happens to Your Tooth During the Veneer Bonding Process


Many patients in O’Fallon ask us what happens to your tooth during the veneer bonding process. It is a fair question. Veneers change your smile permanently, and understanding each step helps you feel confident before committing. At Twin Oaks Family Dental, Dr. Blake Ferando takes time to walk every patient through the process from start to finish.
Veneers are thin shells of porcelain bonded to the front surface of your teeth. They correct discoloration, chips, gaps, and minor misalignment. The results look natural and last for many years with proper care.
What Happens to Your Tooth During the Veneer Bonding Process in O’Fallon: The Consultation Phase
The veneer journey begins with a thorough consultation. Dr. Ferando examines your teeth, gums, and bite to confirm you are a good candidate. Healthy gums and sufficient enamel are both essential starting points.
During this visit, you will discuss your smile goals openly. Dr. Ferando uses photos and digital imaging to show you expected outcomes. This helps both of you agree on the right shape, length, and shade before any work begins.
Your overall oral health also gets evaluated at this stage. If you have untreated decay or gum disease, those issues must be resolved first. Treating underlying problems protects your long-term investment in veneers.
Shade Selection and Smile Design
Choosing the right shade is one of the most important steps in the veneer process. Too bright can look unnatural. Too subtle may not achieve the transformation you are hoping for.
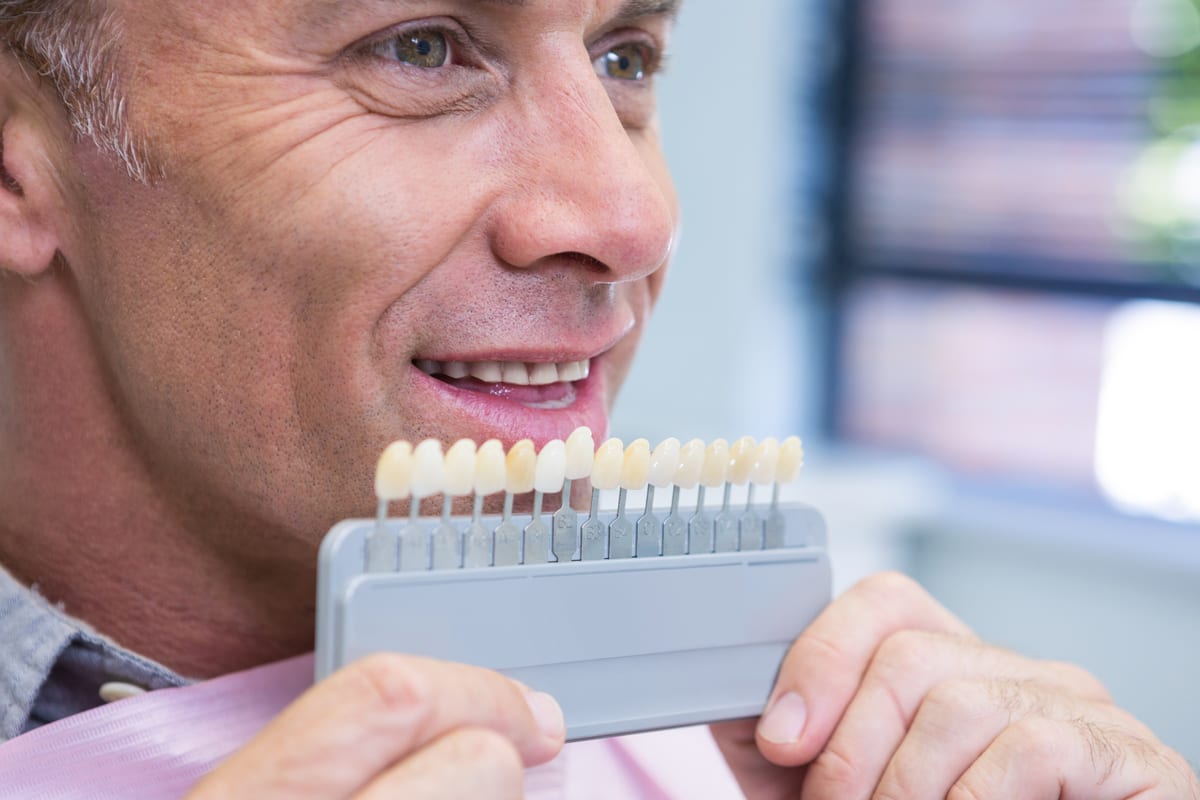
Dr. Ferando uses a professional shade guide to match your veneers to your surrounding teeth. He considers your skin tone, eye color, and personal preference. The goal is always a result that looks genuinely like your own smile — just enhanced.
You also get input on the shape of each veneer. Some patients want a rounder, softer look. Others prefer a straighter, more defined edge. This collaboration ensures your final result reflects your unique aesthetic goals.
- Shade guides compare dozens of tooth color options side by side
- Natural lighting is used during shade selection for accuracy
- Your preference always guides the final decision
- Digital smile previews help you visualize results before any prep begins
Enamel Preparation: What Actually Happens to Your Tooth
This is the step most patients have questions about. To bond a veneer properly, Dr. Ferando removes a thin layer of enamel from the tooth’s front surface. This removal is typically between 0.3 and 0.5 millimeters — roughly the same thickness as the veneer itself.
Removing enamel creates a slightly rough surface. That texture allows the bonding cement to grip the veneer securely. Without this step, veneers would look bulky and feel unnatural inside your mouth.
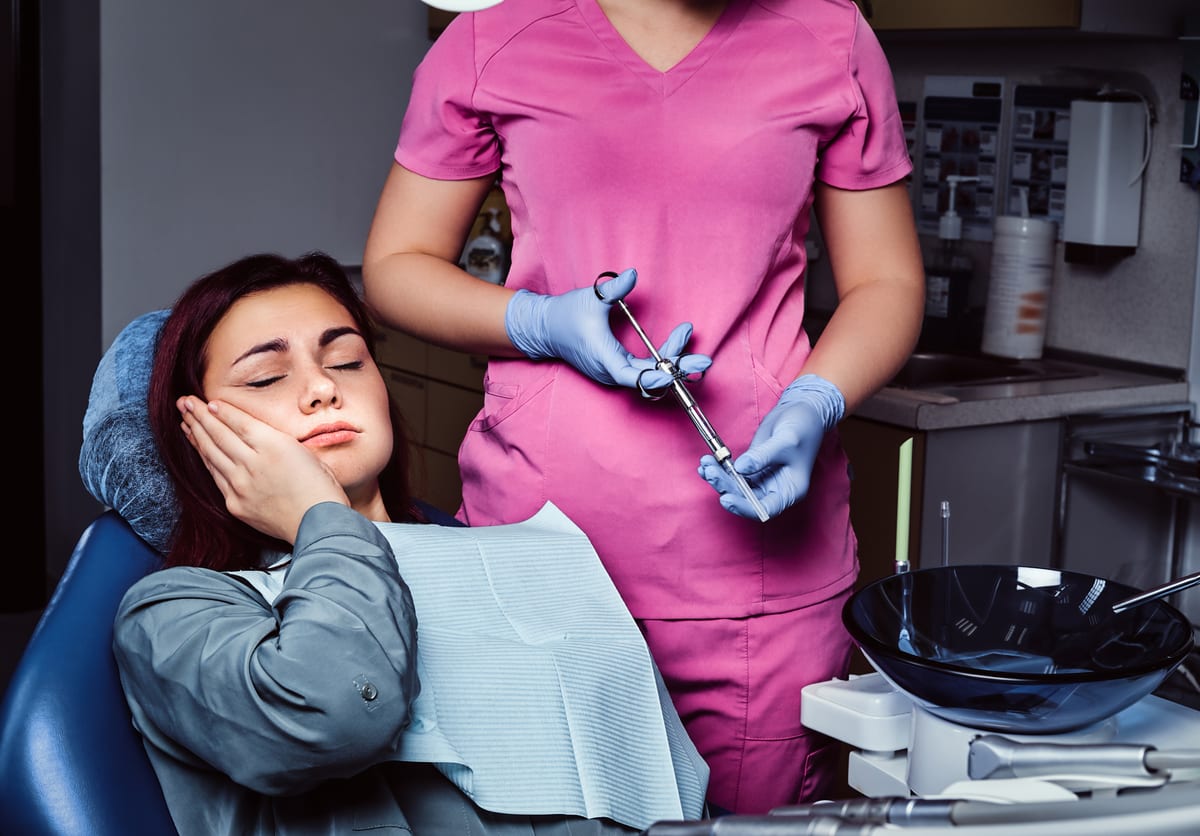
Local anesthetic keeps you comfortable throughout the preparation. Most patients report feeling pressure but not pain during this stage. The process usually takes one to two hours depending on how many veneers are being placed.
It is worth noting that enamel removal is permanent. Your teeth will always need a veneer or similar restoration after this preparation. This is why the consultation and planning phase matters so much before any enamel is touched.
Temporary Veneers and the Waiting Period
After enamel preparation, your custom veneers are sent to a dental laboratory. That fabrication process typically takes one to two weeks. During that waiting period, Dr. Ferando places temporary veneers to protect your prepared teeth.
Temporary veneers serve several useful purposes. They shield sensitive enamel from temperature changes and pressure. They also give you a preview of how your new smile will look and feel in daily life.
You may notice some sensitivity while wearing temporaries. This is completely normal and resolves once your permanent veneers are bonded. Avoid hard or sticky foods during this phase to protect the temporary restorations.
- Temporaries protect exposed enamel between appointments
- They allow you to test the feel of your new smile shape
- Feedback during this phase can still influence minor adjustments
- Sensitivity during this stage is expected and temporary
The Final Bonding Appointment
Once your permanent veneers arrive from the lab, you return to Twin Oaks Family Dental for the bonding appointment. Dr. Ferando first places each veneer without cement to check fit, color, and symmetry. Small adjustments can still be made at this stage if needed.
Your tooth surface is then cleaned, polished, and etched lightly. Etching opens the pores of the enamel slightly. This creates an even stronger bond between tooth and veneer.
A special dental cement is applied to the veneer before it is seated onto your tooth. A curing light then hardens the cement in seconds. Once cured, the bond is extremely durable and resistant to everyday wear.
Dr. Ferando checks your bite carefully after bonding each veneer. Any minor high spots are smoothed immediately. You leave the appointment with a polished, natural-looking smile that fits comfortably with your bite.
Caring for Your Veneers After Bonding
Porcelain veneers are strong, but they still require daily care. Brushing twice daily and flossing once daily keeps the gum line healthy around each veneer. Good oral hygiene extends the life of your investment significantly.
Avoid biting hard objects like ice, pens, or fingernails. These habits can chip porcelain over time. A night guard is recommended if you grind your teeth while sleeping.
Regular checkups with Dr. Ferando at Twin Oaks Family Dental are equally important. Routine cleanings and exams catch any early issues before they affect your veneers. Other dental concerns — such as needing Root Canals O’Fallon or exploring Dental Bridges O’Fallon — are also best addressed promptly to protect your overall smile.
With proper care, porcelain veneers typically last between ten and fifteen years. Many patients enjoy their results even longer with consistent maintenance habits.
Conclusion
Understanding what happens to your tooth during the veneer bonding process in O’Fallon removes the uncertainty that holds many patients back. From the consultation and shade selection to enamel preparation, temporaries, and final bonding — every step has a clear purpose. Dr. Blake Ferando and the team at Twin Oaks Family Dental guide you through each phase with education and care. Book Now to schedule your appointment with our team.
Frequently Asked Questions
Does the enamel removal hurt during veneer preparation?
Dr. Ferando applies a local anesthetic before any enamel is removed. Most patients feel pressure during the process but report no significant pain. Sensitivity after preparation is normal and resolves once permanent veneers are placed.
How long does the entire veneer bonding process take?
The process typically spans two to three appointments over two to four weeks. The consultation and preparation visit takes one to two hours. The final bonding appointment is usually completed within one to two hours as well.
Are veneers reversible?
Veneers are considered a permanent treatment because a thin layer of enamel is removed during preparation. That enamel does not grow back, so your teeth will always require a veneer or similar restoration after this step. Dr. Ferando discusses this fully during your consultation so you can make an informed decision.
How do I choose the right shade for my veneers?
Dr. Ferando uses a professional shade guide and considers your skin tone, natural tooth color, and personal goals. You have full input in this decision. Digital imaging can also show you expected results before any preparation begins.
How long do porcelain veneers last?
With proper care, porcelain veneers typically last between ten and fifteen years. Good daily hygiene, avoiding hard foods, and attending regular dental checkups all extend the lifespan of your veneers significantly.